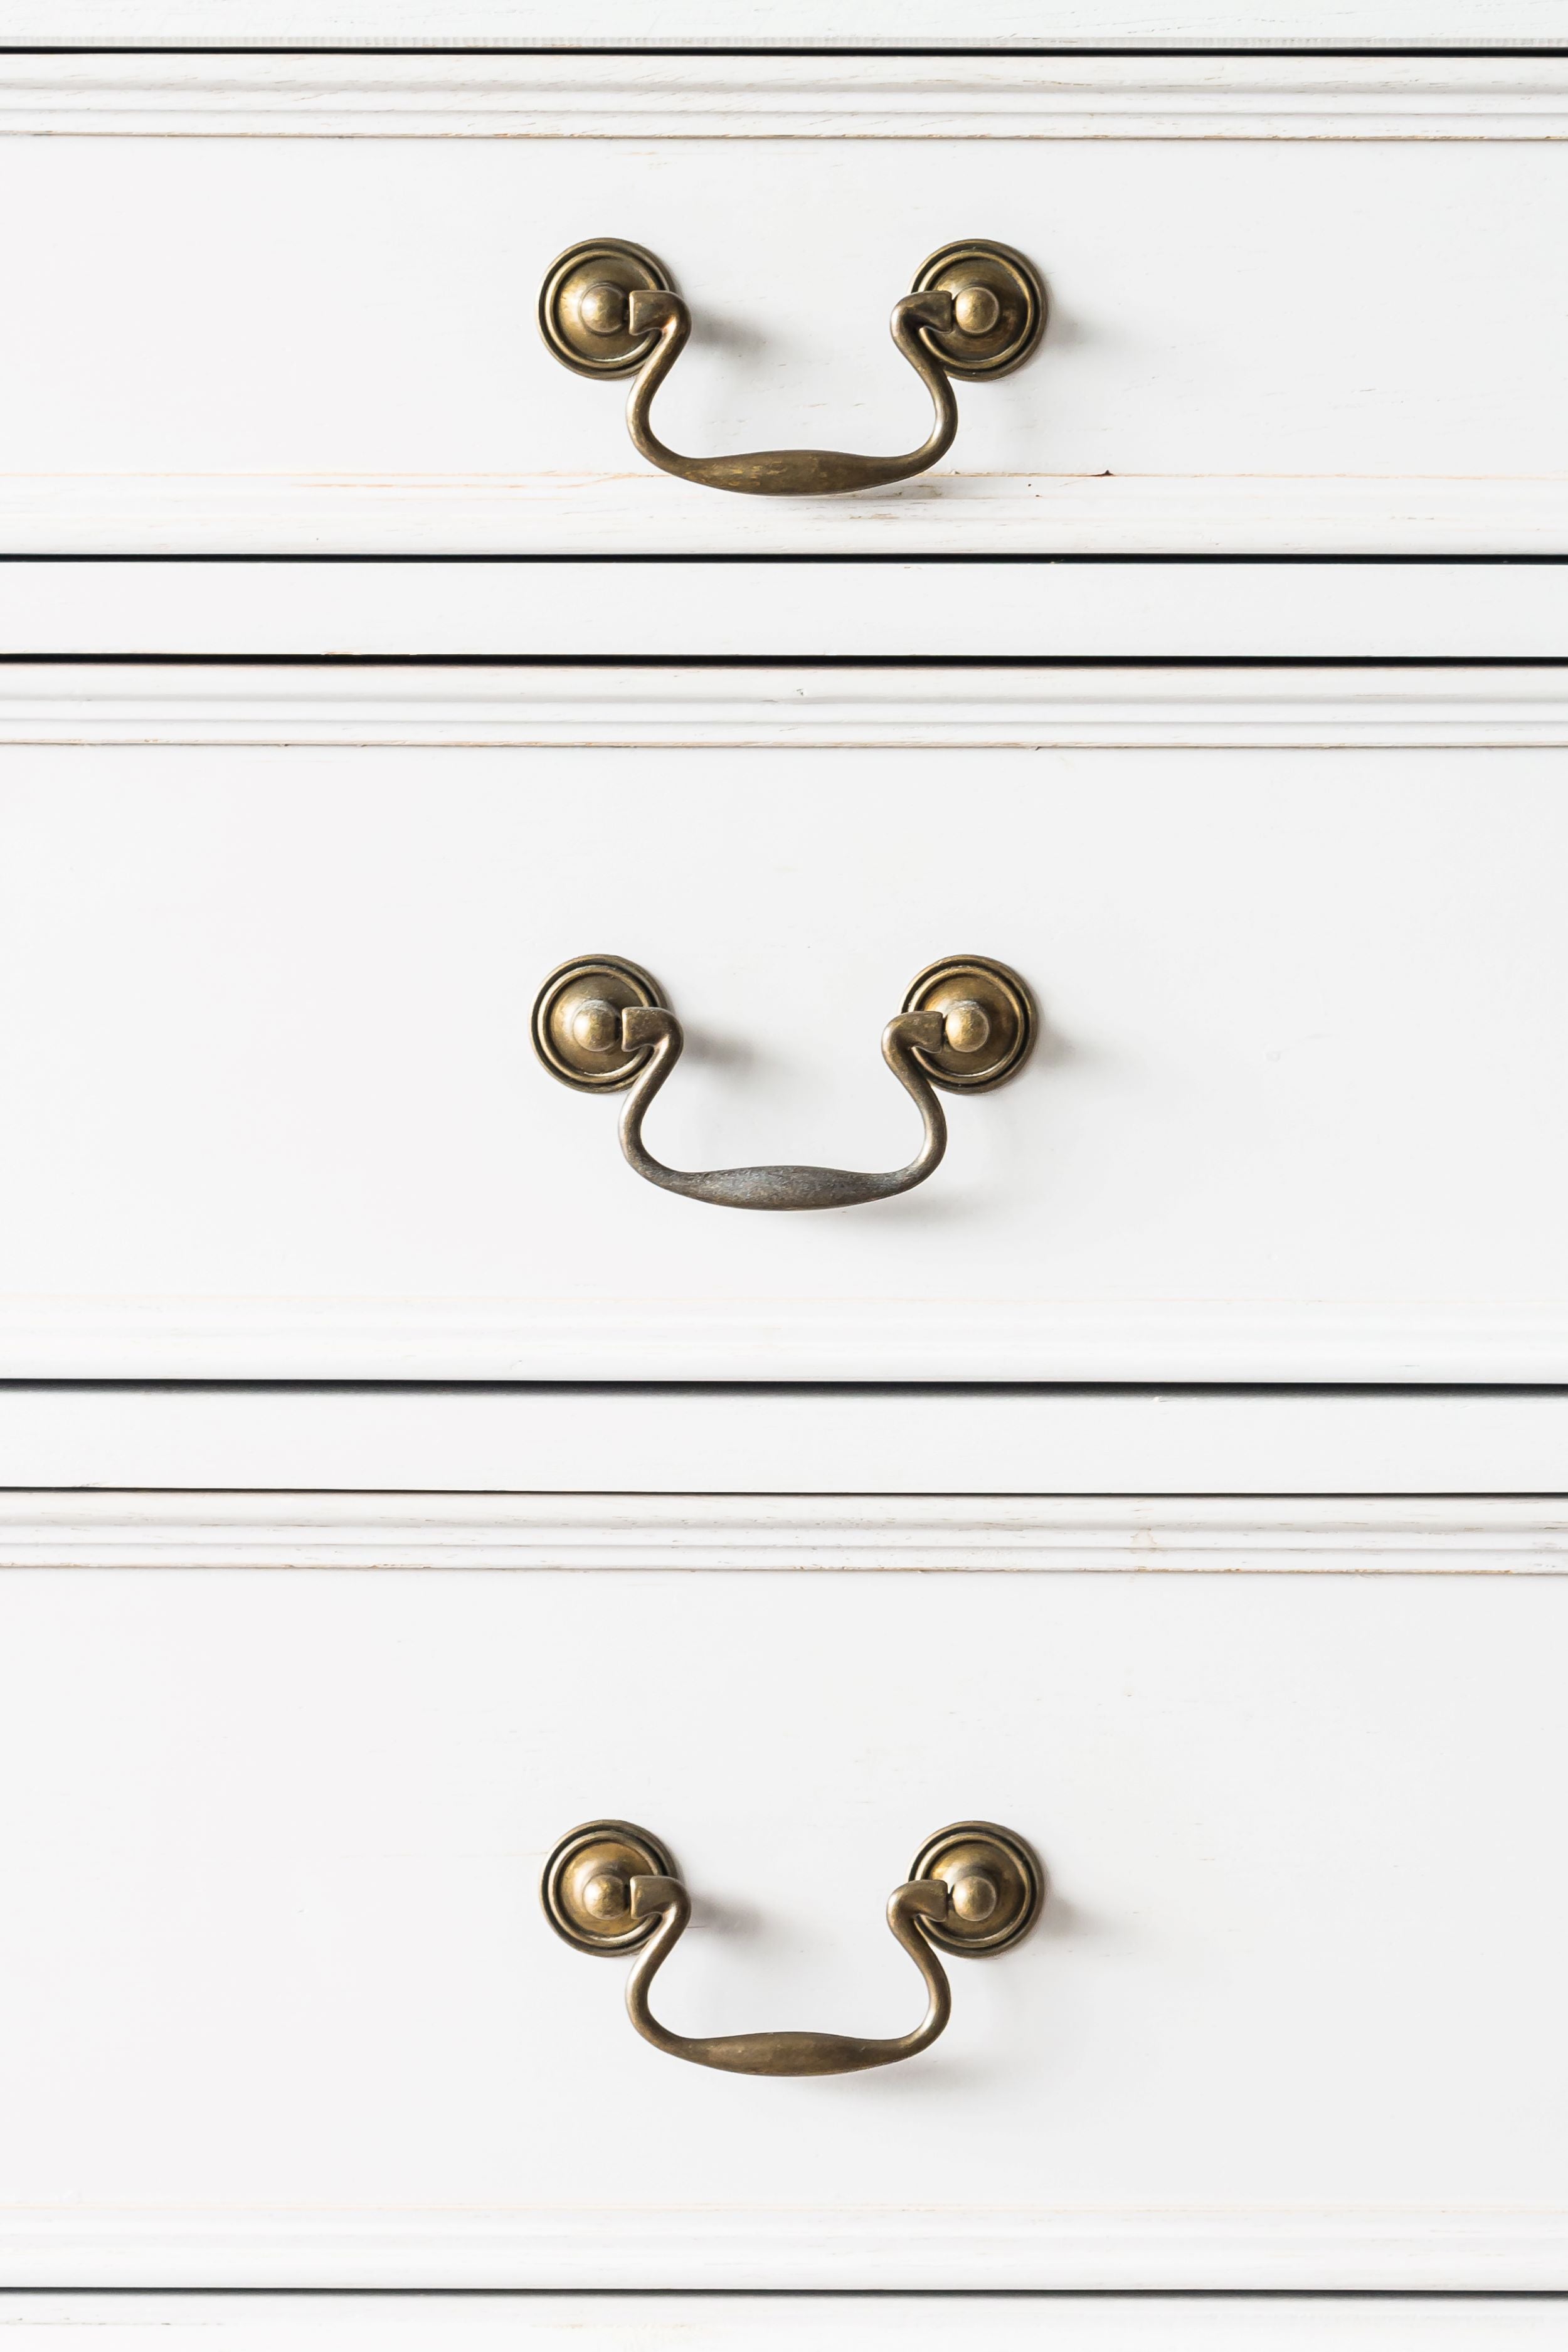
How to Install and Replace Furniture Handles: A Step-by-Step Guide
Furniture handles might seem like tiny details, but they can really change how your furniture looks and works. Whether you're sprucing up old cabinets, refreshing a dresser, or swapping out broken handles, putting in new furniture handles is a simple DIY project that can add a fresh vibe to your room. With just a few basic hardware store tools and a little patience, you can tackle this task yourself in no time!
6 STEPS TO INSTALLING AND REPAIRING FURNITURE HANDLES
Step 1: Gather Your Tools and Materials
Before you start, make sure you have all the tools you need to make the job easier. Here’s what you’ll need:
- Screwdriver (either flathead or Phillips, depending on your handles)
- Measuring tape or ruler
- Pencil or marker for marking spots
- Drill (optional, but useful if there aren’t any holes already)
- Level or template guide (to help with accuracy if you’re installing multiple handles)
If you’re adding new handles to furniture that doesn’t have holes yet, pick a drill bit that matches the size of your handle screws. This way, the holes will fit snugly and securely when you put the screws in.
Step 2: Remove Existing Handles (if Replacing)
If you’re swapping out old handles, start by carefully taking them off to avoid hurting the furniture. Just unscrew them from the back and pull them off. Keep the screws safe in case you want to use them again, and clean up any leftover residue around the old holes.
Step 3: Measure and Mark Handle Placement
Getting the handle placement right is super important for making your furniture look neat and professional. For drawers, the handle usually goes right in the center of the front. For cabinets, it’s often placed vertically, close to the edge of the door.
Use your measuring tape or ruler to find the center of where the handle will go. If you’re putting on several handles, a level or template guide can help keep everything even. Mark the spots with a pencil or marker so you know where to drill or line up the screws.
Step 4: Make Holes (if Needed)
If your furniture already has holes that match your new handles, you can skip this part. If not, grab a drill and make holes where you marked for each handle. Make sure to keep your hand steady while drilling so you don’t accidentally make the hole bigger or drill it crooked.
Tip: Put a piece of painter’s tape over the spot where you’ll drill to help prevent splintering on the wood. Drill through the tape and take it off once you’re done.
Step 5: Put on the New Handles
Next, take the screws and push them through the holes you just drilled from the inside of the drawer or cabinet. Line up the handle with the screws on the outside and use a screwdriver to tighten them. Be careful not to tighten too much, or you might crack the handle or hurt the furniture.
Step 6: Check the Handles
After all the handles are on, give them a test to make sure they’re attached well and look good. Gently pull each handle to see if they’re sturdy and check that they’re straight and evenly spaced. It’s easy to make any changes if you need to at this point.
CONCLUSION
Find stylish, durable furniture handles at BTCs Hardware! Made from high-quality materials, our handles add lasting beauty to any piece.